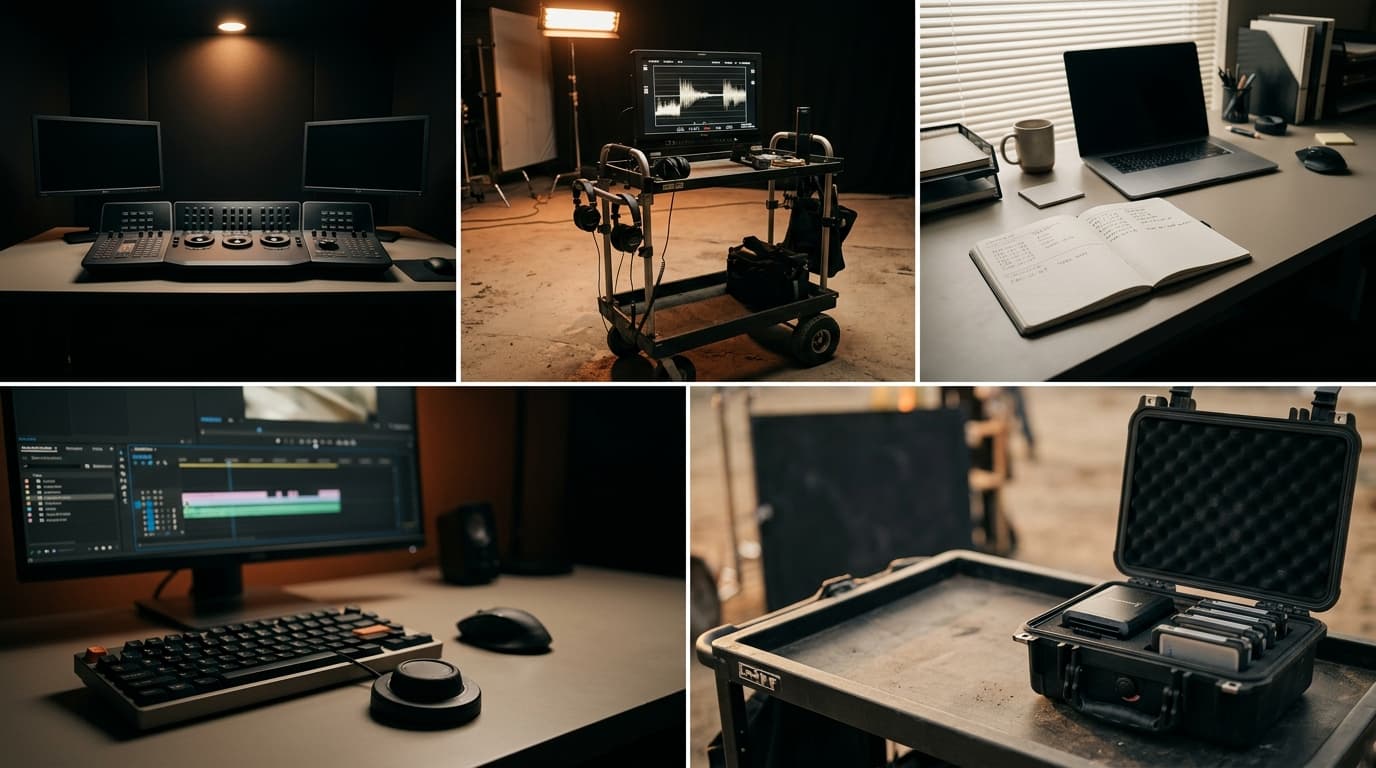
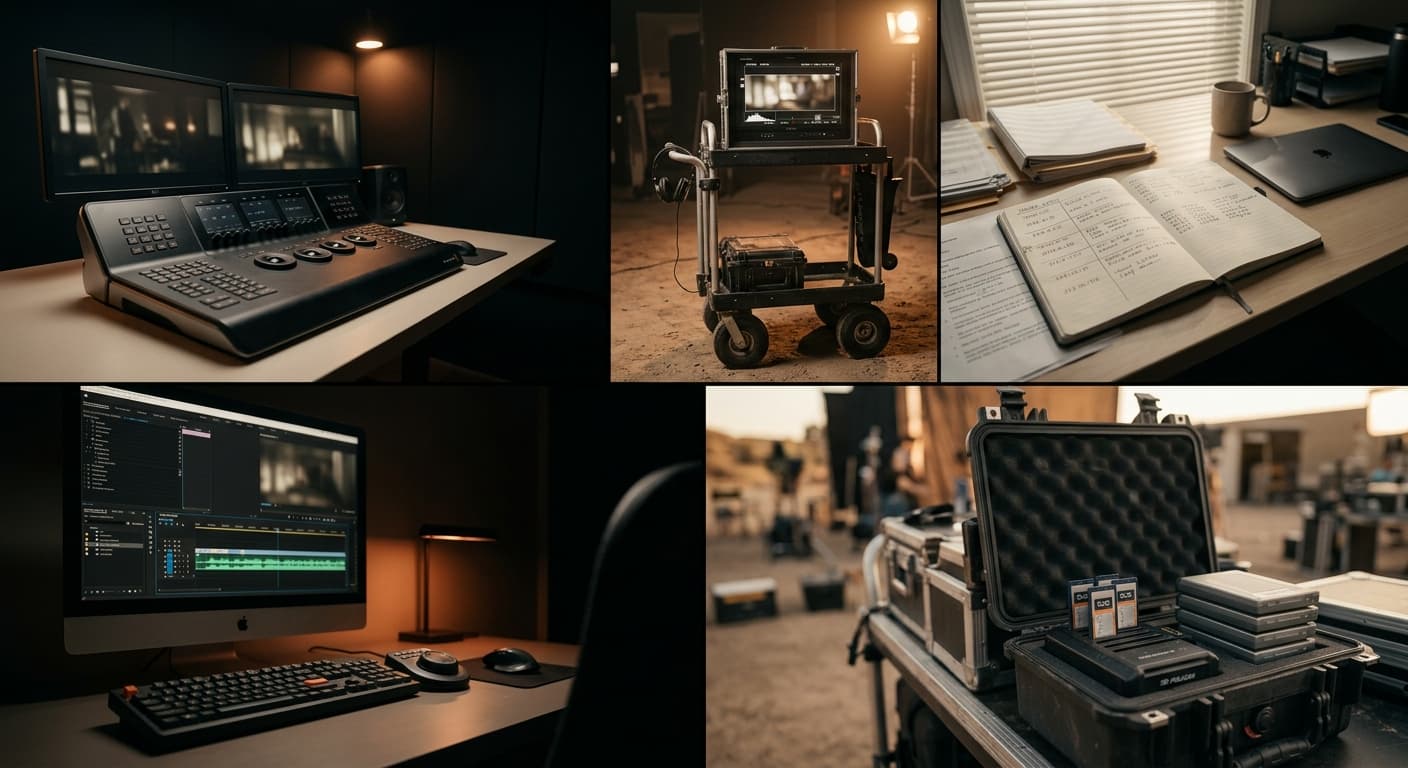
Multicam color matching: the complete guide
Why multi-camera footage never matches out of the box, what "matching" actually means, and the six questions worth asking of any tool that claims to do it for you.
Three cameras, one timeline, three different looks. There are tutorials for color grading, tutorials for color correction, and tutorials for camera-specific LUTs. Almost nothing is written about the step in between, which is the one editors actually get stuck on: making footage from two or three or seven cameras look like it came from the same shoot.
That step is called matching. Here is where the mismatch comes from, what matching is, how editors do it by hand, and how MOVON does it now.
Why multi-camera footage never matches out of the box
The instinct on a first multicam shoot is that the cameras will match if the settings line up. Same white balance number, same exposure, a similar LOG profile. Drop the clips in. Play.
They don't match. The A-cam looks slightly warm, the B-cam slightly green, and the drone looks like it came from another film.
This is the cameras working correctly. Every camera reads light through a different sensor, processes it with different on-board math, and stores it in a different LOG container. A Sony FX6 in S-Log3 and a Canon C70 in C-Log3 record the same scene and write different numbers to the file. Matched settings are not matched footage. The sensor-level version of that argument is at Why your multicam footage never quite matches.
Three forces do the damage.
The LOG container. LOG is not a look. It is a way of storing more dynamic range than the file format would otherwise carry. S-Log3, C-Log3, V-Log, N-Log, D-Log: each is a curve that compresses highlights and shadows so a 10-bit or 12-bit container can hold what the sensor saw. Played back without a display LUT it looks flat and gray-green, which is the container, not the look. Two different LOG profiles describe the same light differently, and a display LUT alone does not align them. The walk-through is at LOG to display: what actually happens.
The sensor. Two cameras pointed at the same chart record different RGB triplets for the same patch. The differences are small and consistent: a Sony sensor reads a certain green cooler than a Canon, a Blackmagic reads a skin tone warmer than a Panasonic. They compound under real lighting. The drone is the worst case, because a Mavic sensor is tiny next to an FX6 and carries its own color filter array, bit depth and processing. More on that at The drone clip always loses.
The decisions on set. A B-cam left on auto white balance while the A-cam sat at 5600K will drift. A clip exposed half a stop hot has to come down before the colors can be compared at all. These are the easy ones, because each is a single number.
What matching actually means
The word that gets in the way is grading. Most color tutorials online are about grading: choosing the look, pushing teal and orange, deciding the film feels like a cold morning.
Matching comes before that, and its job is narrower. Take clips that should look like one shoot, and make them look like one shoot. No mood, no look. The cameras agree.
That distinction has a practical consequence. A match is a measurement, and measurements can be automated. A grade is an opinion, and it cannot. The longer version is at Matching cameras is not grading them.
The manual workflow
Every editor who shoots multicam learns the same five steps, usually by losing a weekend to them.
- Identify the LOG profile on every clip. Right-click, check the metadata, confirm the tag. Premiere does not always read it correctly, especially with proxies or mixed-format ingest.
- Apply the right display LUT per profile. S-Log3 needs the S-Log3 to Rec.709 conversion, not the V-Log one. Get this wrong and every adjustment after it is fighting the wrong baseline.
- Pick a reference. Most editors pick the A-cam because it was the expensive camera, and assume the rest should match it.
- Pull curves and HSL until the others look like the reference. This is the part that eats the day. Fix the B-cam, and the A-cam looks wrong by comparison. Fix that, and the drone is still wrong. Loop.
- Watch the match drift under the creative grade. Mismatches that were invisible at neutral get amplified once the look goes on. Back to step 4.
What makes this expensive is not editor skill. It is the eye. The eye adapts, and it reports that the clips match before they do. The audience picks it up half an hour later and cannot say why. A field report on that exact loop is at The one-man crew problem.
The hero camera
The one bit of structure that makes multicam matching easier is naming a hero. Not the most expensive camera. The camera that nailed the look on this particular shoot: cleanest whites, honest exposure, the skin tones the project wants to keep. Sometimes the A-cam, often the B-cam in better light, occasionally the drone in golden hour.
Once a hero exists, the problem shrinks from "make everything look right" to "make everything look like this one". In MOVON the hero is literal: you select the clips you want matched and pick one reference, and every selected clip is pulled toward it. How to choose one is at Picking a good hero camera.
How MOVON does it
Editors running the manual workflow are not improvising. Same comparison, same corrections, same loop, every time. That is the kind of work a model can take over.
Two networks run on MOVON's servers. A backbone model reads the color data from each selected clip and produces an embedding that describes how that clip renders color, with no reliance on metadata. A grade-predictor model takes the embeddings for the reference and for each clip, and works out the grade that moves that clip toward the reference.
The panel then applies those grades to the clips on your timeline, as one undo step. There is an export as well, for a film that finishes in Resolve or Final Cut, and you never need it to keep working in Premiere. A project-level walk-through is at Running MOVON inside a Premiere project.
The footage never uploads. The plugin sends color data and gets numbers back. The data boundary in detail is at Local vs. cloud AI color tools.
Since 16 July, beta users have matched 19,156 clips this way. The median clip takes 1.2 seconds. The largest single sitting was 959 clips.
What to look for in a matching tool
Six questions separate the options.
Does it read the actual shot, or look up a stored profile? This is the deepest split. Most plugins match cameras with a precomputed profile captured in a studio: same calibration chart, fixed light, the sensor as it behaved on the lab day. That profile answers the same way whether you shot an interior with daylight bleeding through a window or a beach at sunset. Adaptive tools read the clips on the timeline instead and build a per-clip color signature. Lookup is faster per clip; reading adapts to the shoot. The breakdown is at How MOVON compares to other color-matching plugins.
Does it match to a reference, or auto-grade? Different problems. A tool that picks a look on your behalf is solving the grading problem, which you probably want to do by hand.
How much prep does it ask for? Some tools want camera profiles configured, charts shot on set, or metadata cleaned up before a match can run. The best case is two decisions: which clips, and what they should look like.
Does the result land in the project? A match you have to export, file, and re-apply by hand is admin stacked on top of a color job. It belongs on the clips.
Where does the footage go? Some cloud tools upload frames for processing. On NDA work, knowing exactly what leaves the machine is a requirement, not a preference.
What does it cost in five years? A subscription is a recurring tax on every project. A tool with an unclear business model is one that might disappear or get expensive.
For MOVON specifically: it reads the clips rather than a stored profile, matches every selected clip to a reference you choose, asks for nothing beyond that selection and that reference, applies the result to your timeline, sends only color data to the server, runs on macOS inside Premiere Pro, and is free through the end of 2026 during the private beta.
Common questions
Does it need to know what cameras were used? No. MOVON works from the color signature of each clip, not from metadata. A timeline with no camera metadata, or with wrong metadata, matches the same as a clean one.
Will it work with proxies? MOVON analyses whatever pixels the panel sees. Proxies that preserve the LOG color signature behave like full-res footage for the match. Proxies rendered to Rec.709 will skew the result, so toggle proxies off before matching, or generate proxies that keep the original color space.
What about HDR? MOVON Match is SDR Rec.709 today. HDR is on the roadmap and will share the same backbone model with a different output transform.
What can the reference be? A clip on the timeline, a grade you already built, a film stock from the library, or a still from your drive. The camera-to-camera case, where the reference is the hero clip, is simply the most common one.
Is this a fancier auto white balance? No. Auto white balance moves one global number. MOVON works out a full three-dimensional transform of the color volume, one per clip.
Which editors does it run in? Premiere Pro on macOS. Resolve and Final Cut are in development, with no dates attached.
The short version
Different cameras are not the same camera, however carefully the settings are dialled in. Matching is a measurement, grading is an opinion, and only the first of those automates. The manual pass takes hours and runs on an eye that adapts. Naming a hero turns "match everything" into "match toward this one". After that it is a selection, a reference, and a few seconds a clip.
The step-by-step Premiere version of all of this, both paths side by side, is at How to color match multicam in Premiere Pro. The private beta is open.
The MOVON Labs team
Get the next dispatch in your inbox.
Release notes, color science notes, and the occasional field report. No marketing. Unsubscribe one click.