Running MOVON inside a Premiere project
From a raw multicam timeline to a matched .cube per camera in one Analyze click. The full Premiere workflow: what MOVON reads, what it hands back, and when to take manual control.
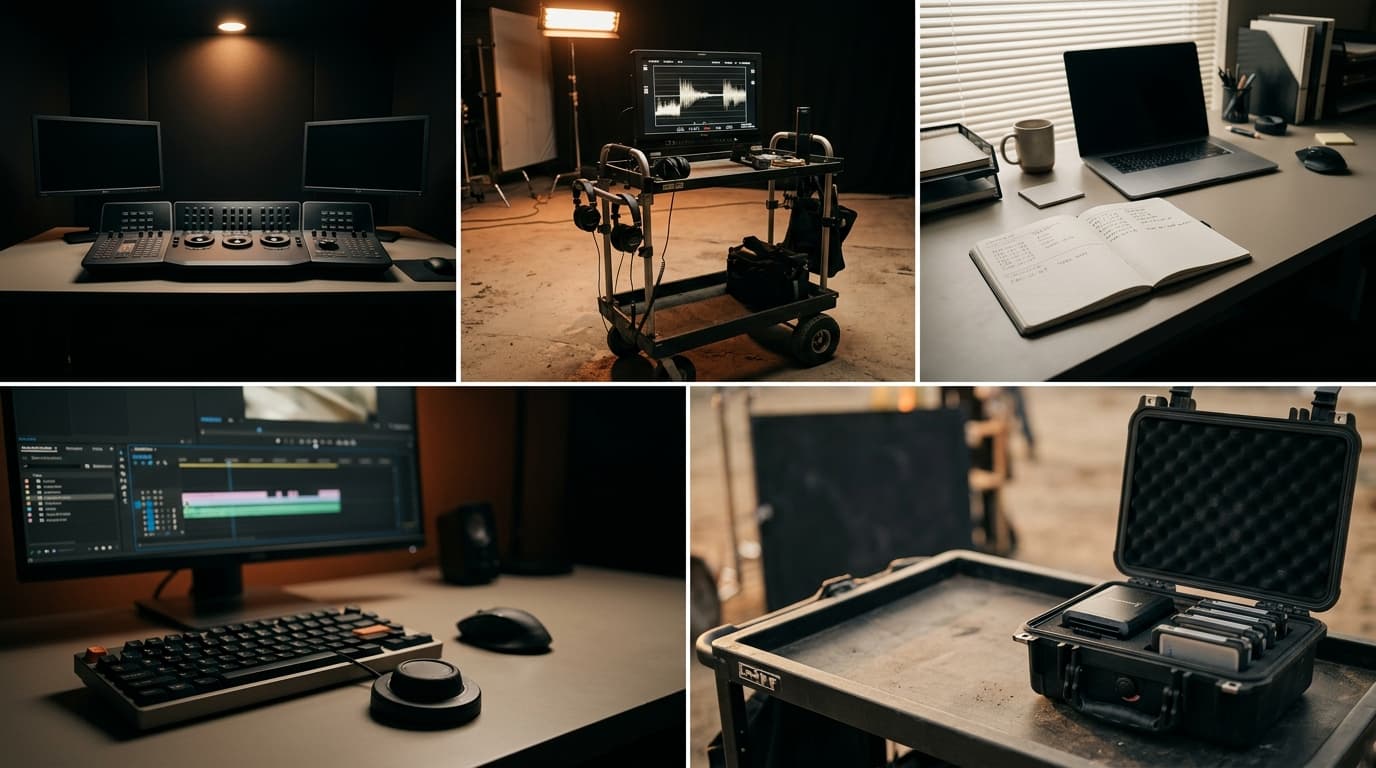
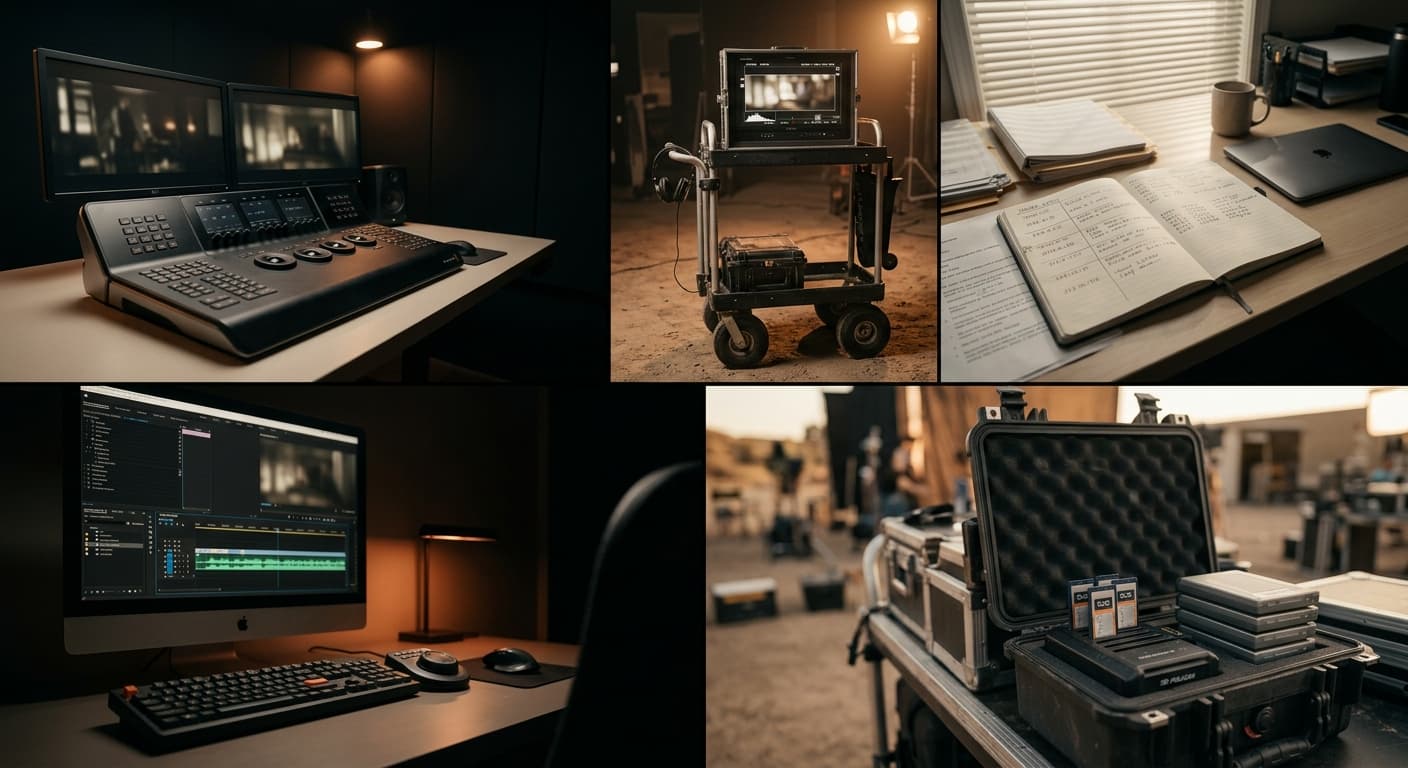
This is the short version of how MOVON works inside a Premiere project. The whole thing happens in a docked panel. There is no separate app to switch to.
Before you start
Your project should already have:
- Footage imported, organized into bins by camera
- Display LUTs applied (or about to be): S-Log3 → Rec.709, C-Log → Rec.709, etc.
- A rough cut on the timeline
If you skipped display LUTs, do that first. MOVON matches displayable signal, not raw LOG. The display LUT is upstream of MOVON.
Step 1. Open the panel and hit Analyze
MOVON installs as a docked UXP panel in Premiere. Open it, make sure the timeline you want is active, and click Analyze.
MOVON reads every clip on the timeline, samples a few frames per clip, and runs them through its match models, all on the Mac. Nothing uploads.
Step 2. Check the plan
When the analysis finishes, MOVON shows what it found: the clips grouped by camera, and the hero it picked: the camera everything else will match to.
Disagree with the hero? Change it in one click. Want a different grouping? Move a clip between groups. This is the moment to take manual control; everything after it is automatic.
Step 3. Match
Click through, and MOVON generates a custom .cube LUT per camera group. Each one is a standard 33³ file. Export them from the panel and apply each to its camera's clips in Lumetri, or carry them into another NLE.
One-click apply (writing every LUT back across the whole timeline as a single undo step, through MOVON's own effect) is the piece MOVON Labs is wiring up now for the private beta. Until it lands, the export-and-apply step above is the workflow.
What if it doesn't look right?
A few common things:
- Match too aggressive on skin tones. Drop the Lumetri Look intensity to 70-80% when you apply the .cube. MOVON errs toward over-matching on purpose. Easier to dial back than to push further.
- One camera grouped wrong. Re-open the panel, move the clip to the right group, and re-run. Grouping is the one place a human eye still beats the model on edge cases.
- Match has a slight green/magenta cast. Usually the hero clip had a color cast nobody noticed. Pick a different hero with cleaner whites and re-analyze.
That's the workflow
Open the panel → Analyze → check the plan → export the match. The cameras agree on something for once, and the whole thing happened on the Mac, nothing uploaded.
— MOVON Workflow
Get the next dispatch in your inbox.
Release notes, color science notes, and the occasional field report. No marketing. Unsubscribe one click.